

Custom Designs - Decorative Reusable Release Paper Sheets, Cover Paper For Diamond Painting
Custom Designs - Decorative Reusable Release Paper Sheets, Cover Paper For Diamond Painting
Couldn't load pickup availability
Add a personal touch to your diamond painting experience with this custom printed diamond painting release paper. I will take your photos and print them onto release paper that you can use to make your favourite hobby feel even more enjoyable and personalized.
You can submit your own photos or photos/patterns found online. Please note, I will not print copyright protected materials without written permission from the artist or owner of the content.
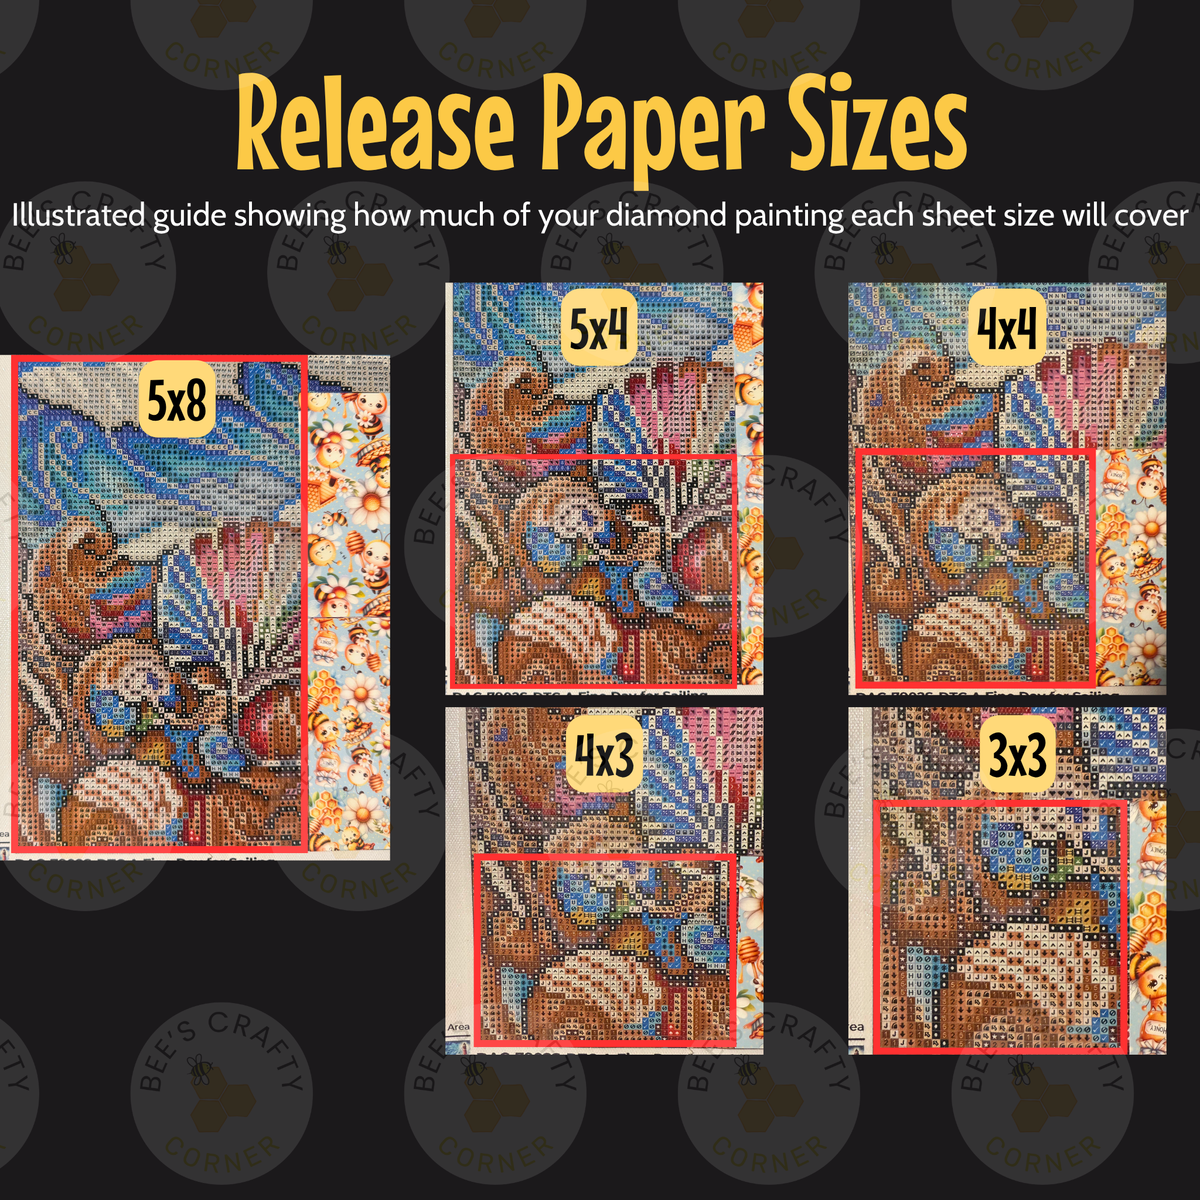
Select your preferred release paper sheet size when ordering and I will do my best to make the image fit to the desired size while preserving the integrity and aspect ratio of the image. Some cropping of the image may occur to make it fit into your chosen size of release paper. The image will be printed in the orientation (portrait or landscape) that best fits the image. In case your image does not fit into your chosen size without severely compromising the image, I will contact you to suggest an alternative size.
Product Type: Decorative Reusable Release Paper Sheets, Cover Paper For Diamond Painting
Benefits:decoration, protect adhesive canvas, prevent dust buildup, replace plastic film, section your painting
Handmade with love by Bee's Crafty Corner
Product Details:
For decorative and protective use, this premium decorative diamond painting release paper by Bee's Crafty Corner serves as a decorative aid that complements your diamond painting and can help replace plastic film while protecting an adhesive canvas between sessions.
How To Use:
1. Prepare Your Canvas
Lay your diamond painting canvas on a flat surface. If it has the clear plastic cover that comes standard with most kits, gently peel it back. You may choose to remove the entire plastic covering and replace with release paper, or you may wish to remove smaller sections at a time.
2. Choose Your Section Size
Use one sheet per section, or overlap sheets if you want to block off a custom-sized area.
3. Apply the Release Paper
Place the shiny/non-stick side of the release paper facing down onto the sticky canvas. You may wish to cover the entire painting with release paper, or you may wish to lay down a row or two of release paper and keep the rest covered with the plastic sheet. Do what works best for you!
Tip: Always make sure the non-stick side touches the glue. If the paper has a printed or matte side, that is the top, not the side that goes on the glue.
4. Work One Section at a Time
Lift the release paper up from the edge of the section you’re ready to complete. Place your drills as usual.
Tip: To avoid damage and prolong the use of your release paper, you may find it helpful to use a pointy object such as tweezers to help lift the sheet.
5. Replace as Needed
When you’re done for the day, simply lay the release paper back over the sticky area. It keeps lint, hair, dust, and debris away while you store your project.
6. Reuse or Replace Sheets
Our release papers are reusable and can be reused many times with careful use, but nothing lasts forever. When you notice your release paper sheet has become damaged or no longer releases cleanly, swap it for a new sheet.
Compatibility and Care:
Use tweezers or another pointed object to lift the entire sheet when removing from the canvas. Slightly overlap the sheets to make removal easier
Store release paper sheets in a sealed bag or container. If sheets curl, gently bend them in the opposite direction or place them under a heavy object over night.
Please do not get release paper sheets wet as this can compromise the ink
Share